How I made Ennerdale Water, Lake District linocut print
- Michelle Hughes
- Jun 10, 2020
- 3 min read

Updated: Feb 21, 2023
In this blog, I'll show you how I created my new Ennerdale linocut print. The design is a seven colour print made using the multi-block printing technique.

Step 1 | Inspiration
The inspiration for this design comes from a photo I took in Ennerdale in the Lake District last year. I spent 2 days walking and cycling around Ennerdale.

Ennerdale Water is the most westerly lake in the Lake District National Park in Cumbria. It is the only lake in the Lake District that doesn’t have a road along it. At 8 am the reflections on the steel blue lake perfectly mirrored the hillside above.
Walking along the footpath south of the lake I followed the path of the infamous Coast to Coast Walk. The 188-mile walking route was created by Alfred Wainright and crosses three National Parks across the North of England. The path clings to the lakeside before climbing slightly up the rocky shoreline for views of the route ahead down the valley. I just knew that this view would work well as a linocut design.
Read more about the trip in my Inspiration in Ennerdale, Lake District blog.
Step 2 | Design concepts
I sketched the design roughly on my Ipad so that I could work out the composition and colour balance of the design. It also means I can play with different colourways quickly.

Step 3 | Carving lino block 1
Carving the main elements of the design. While test printing the design I removed the texture on the right of the lino block.


Step 4 | Carving lino block 2
Carving the foreground and layers of mountains in the background. I have added different mark-making techniques to the design to add texture to the mountains and rocks.
I will ink this block up with 4 different tones of grey.


Step 6 | Carving lino block 3
Carving the areas for the lake and sky. I removed a couple of the areas after test printing.

Step 5 | All lino blocks carved and ready for printing
Three lino blocks are ready for test printing.
I adjusted the design after test printing and removed some areas that I felt were not needed.

Step 6 | Test printing
This is where I test out the design to see if it works. The purpose of test printing is:
To see if the lino blocks to line up, we call this registration and make adjustments if necessary.
To adjust elements in the design that I want to change
To experiment and play with colour.
Often this can mean spending as much time adjusting the block as I did carving it the first time. It can be a whole day's work.
Step 7 | Printing colour 1
Inking up the block with green oil-based ink.

Step 8 | Printing colour 2,3,4,5,6
Inking up the block tones of grey. While test printing I experimented with applying different tones of grey ink to each part of the design. I wanted to have the foreground rocks to be dark slate grey. I then wanted each mountain to have a different tone. I did this by adding more and more transparent ink to the first colour I mixed.
It's been a little tricky to do on one block and does mean that each of the prints I have printed is different.

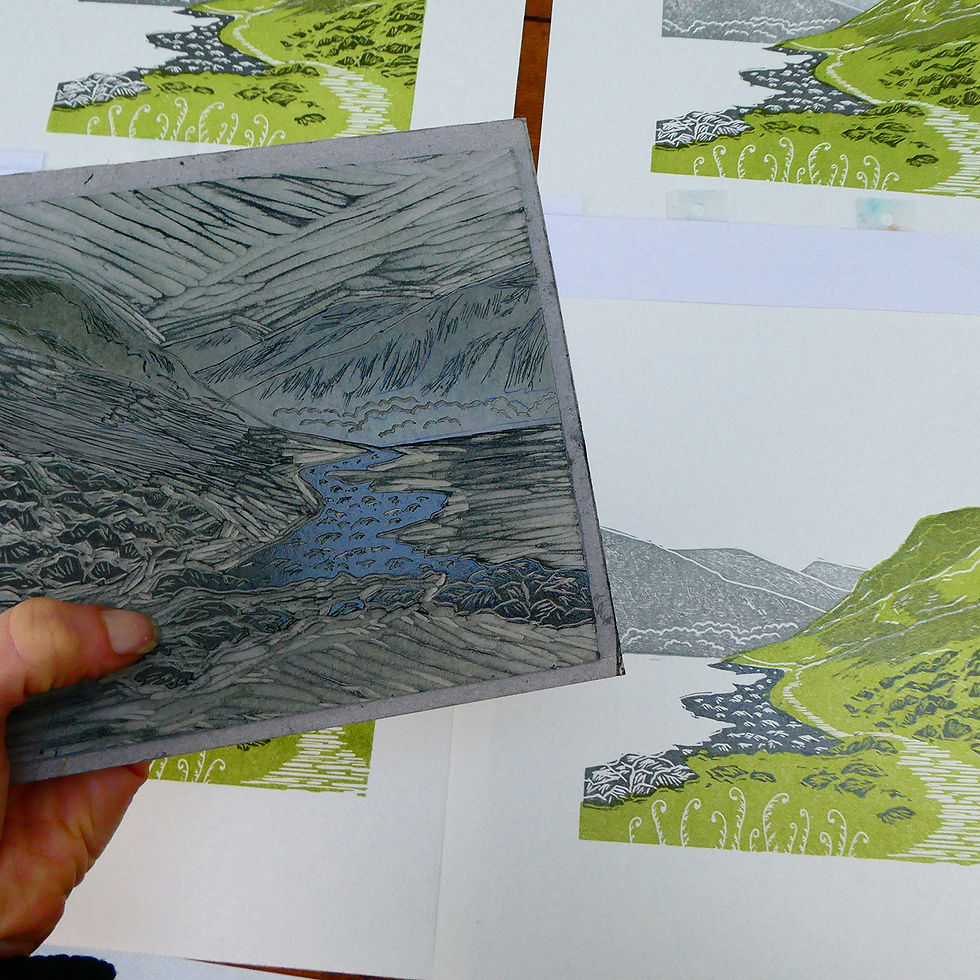


Step 9 | Printing colour 7
Inking up the block with a tone of blue for the lake and a paler blue for the sky.

Step 10 | A selection of test prints
This shows how each of the blocks layers up to create the final print.

Step 11 | Printing the edition
I've printed 12 of the edition, to begin with. As I have been experimenting with applying the tones of grey, each one is unique.
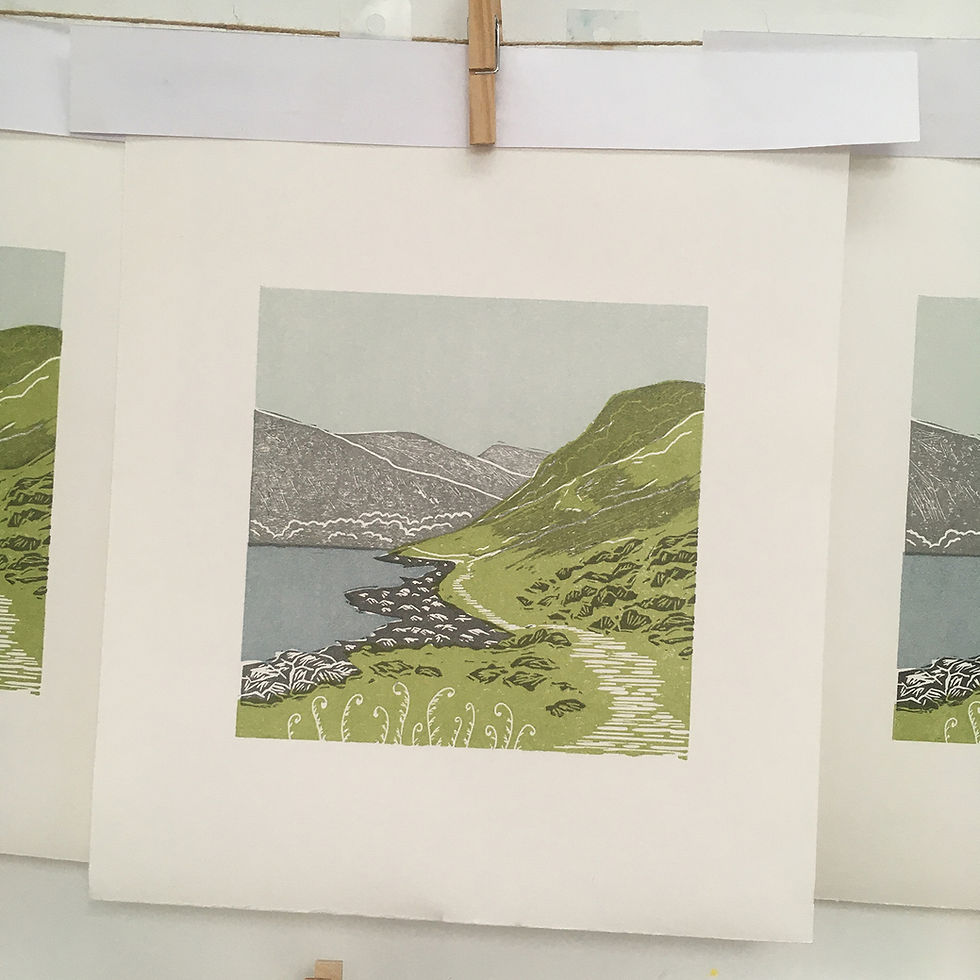
Step 12 |The final print


Ennerdale is 7 colour multi-block linocut print. This is a varied edition. So each print of the edition of the print is unique and varies in tones.
I have scanned each of the original prints available in my online shop. Please select the edition you would like from the drop down menu in there.
Limited edition linocut print. Edition of 60
Image size 160 x 160mm
Mount outer 305 x 305mm
Frame size (outer edge) 340 x 340mm
See my online shop or get in touch to order.
Let me know what you think...
I always love to hear your feedback on new designs.
Please do comment below.
To be first to hear about these please join my mailing list or let me know.
Michelle
About the author
Michelle Hughes is a North Yorkshire landscape artist. Much of her work depicts the Yorkshire landscape and Yorkshire coast, including the Yorkshire Dales and North York Moors.
Michelle loves exploring the British countryside by bike or on foot, camera in hand, capturing ideas for her next linocut prints. Back in her garden studio, Michelle creates simple but stylised silhouettes based on her photographs, and hand carves these shapes into lino. She hand prints with an etching press, using oil-based inks to create tonal blocks of colour.
Michelle’s original linocut prints are limited editions.


Comments